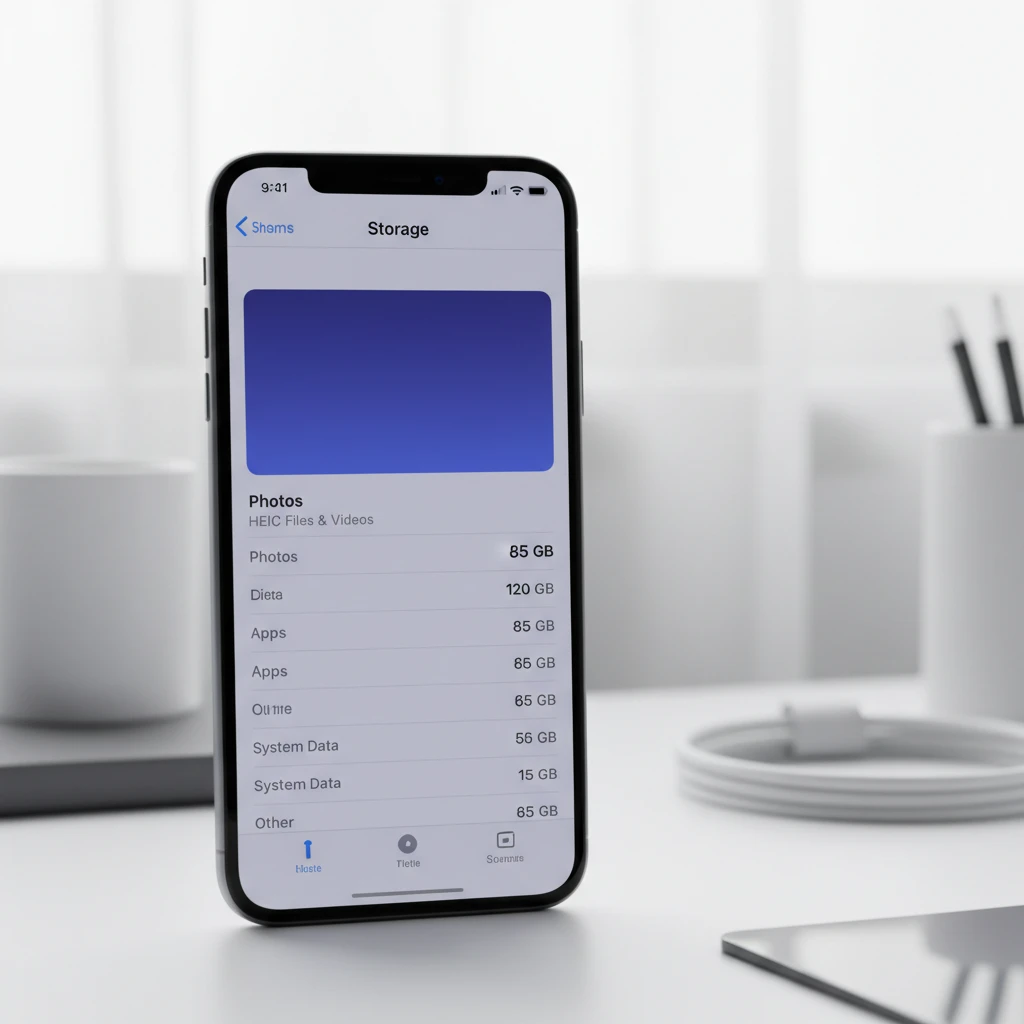
Understanding HEIC Format on iPhone
Since iOS 11, Apple introduced the High Efficiency Image Container (HEIC) format as the default photo format for iPhones. This modern image format offers superior compression, allowing your iPhone to store high-quality photos while using approximately 50% less storage space compared to traditional JPG files. While HEIC provides excellent benefits for iPhone users, it can create compatibility issues when sharing photos with non-Apple devices or older software that doesn’t support this format.
The HEIC format uses advanced compression technology called High Efficiency Video Coding (HEVC), which maintains image quality while significantly reducing file size. However, many Windows computers, Android devices, and older applications cannot open HEIC files without additional software or conversions. This is why knowing how to convert HEIC photos to JPG on your iPhone is an essential skill for seamless photo sharing across different platforms.
Method 1: Change iPhone Camera Settings to Capture JPG Instead of HEIC
The easiest way to avoid HEIC conversion is to configure your iPhone to capture photos in JPG format from the start. This method ensures all future photos are saved as JPG files, eliminating the need for conversion altogether.
Steps to Change Camera Format Settings
- Open the Settings app on your iPhone
- Scroll down and tap on Camera
- Select Formats at the top of the Camera settings
- Choose Most Compatible instead of High Efficiency
- Exit Settings – your changes are saved automatically
After making this change, your iPhone will capture all new photos in JPG format (technically JPEG) instead of HEIC. Keep in mind that this setting only affects photos taken after the change; existing HEIC photos in your library will remain in their original format and will need to be converted using other methods described below.
Pros and Cons of Using Most Compatible Mode
Advantages: Universal compatibility with all devices and platforms, no conversion needed, easier sharing with non-Apple users, and immediate accessibility on Windows and Android devices.
Disadvantages: Larger file sizes meaning less storage capacity, photos take up approximately twice as much space compared to HEIC format, and faster storage consumption on your iPhone.
Method 2: Convert HEIC to JPG When Sharing Photos
Your iPhone includes a built-in feature that automatically converts HEIC photos to JPG when you share them. This happens seamlessly in the background, and you can control this behavior through your settings.
Configuring Automatic Transfer Settings
- Open Settings on your iPhone
- Tap on Photos
- Scroll to the bottom and find Transfer to Mac or PC
- Select Automatic instead of Keep Originals
With the Automatic setting enabled, your iPhone will intelligently convert HEIC photos to JPG format when you transfer them to a Mac, PC, or share them through various apps. This method is particularly useful because it allows you to maintain the storage benefits of HEIC on your iPhone while ensuring compatibility when sharing with others.
How Automatic Conversion Works
When you share a photo via email, messaging apps, AirDrop to non-Apple devices, or transfer to a computer, iOS automatically detects if the receiving device or platform supports HEIC. If not, it converts the image to JPG on-the-fly. This process is transparent and requires no additional action from you, making it the most convenient option for most users.
Method 3: Use the Files App for Manual Conversion
The Files app on your iPhone provides a straightforward way to manually convert individual HEIC photos to JPG format. This method is ideal when you need to convert specific photos rather than changing your entire camera settings.
Step-by-Step Conversion Process
- Open the Photos app and select the HEIC photo you want to convert
- Tap the Share button (square with upward arrow)
- Scroll down and select Save to Files
- Choose a location in Files and tap Save
- Open the Files app and navigate to your saved photo
- Tap and hold on the image file until a menu appears
- Select Quick Actions then Convert Image
- Choose JPG as the output format
- The converted JPG file will appear in the same location
This method creates a new JPG copy of your photo while keeping the original HEIC file intact. You can then share, upload, or transfer the JPG version without any compatibility concerns. The Files app conversion maintains excellent image quality while ensuring universal compatibility across all platforms and devices.
Method 4: Convert HEIC to JPG Using Shortcuts App
The Shortcuts app offers a powerful automation solution for converting multiple HEIC photos to JPG format simultaneously. This method is perfect for users who need to convert batches of photos regularly.
Creating a HEIC to JPG Conversion Shortcut
- Open the Shortcuts app (download from App Store if not installed)
- Tap the + button to create a new shortcut
- Search for and add the Select Photos action
- Add the Convert Image action below it
- Set the format to JPEG and adjust quality if desired
- Add the Save to Photo Album action
- Name your shortcut (e.g., “Convert to JPG”)
- Tap Done to save
Using Your Conversion Shortcut
Once created, you can run this shortcut anytime you need to convert HEIC photos. Simply open the Shortcuts app, tap your conversion shortcut, select the photos you want to convert, and the shortcut will automatically process them and save JPG versions to your Photos library. This method is significantly faster than converting photos individually, especially when dealing with large batches of images.
Advanced users can further customize this shortcut by adding options to resize images, adjust compression quality, or automatically share the converted photos through specific apps. The Shortcuts app provides extensive flexibility for creating personalized conversion workflows tailored to your specific needs.
Method 5: Email Photos to Yourself for Automatic Conversion
One of the simplest methods for converting a few HEIC photos to JPG is to email them to yourself. This method leverages iOS’s automatic conversion feature when sharing photos outside the Photos app.
Email Conversion Process
- Open the Photos app on your iPhone
- Select the HEIC photos you want to convert
- Tap the Share button
- Choose Mail from the sharing options
- Enter your own email address as the recipient
- Send the email
- Open the email on any device and download the attachments
The photos attached to the email will automatically be in JPG format, regardless of their original HEIC format. This method works because iOS converts HEIC images to JPG when preparing them as email attachments to ensure maximum compatibility with email clients and recipients. While this method is quick for a few photos, it’s not ideal for large batches due to email attachment size limitations.
Method 6: Use Third-Party Apps for HEIC to JPG Conversion
Several third-party apps available on the App Store specialize in image format conversion, offering additional features and flexibility beyond iOS’s built-in options.
Popular Conversion Apps
HEIC Converter: A dedicated app that converts HEIC files to JPG or PNG format. It supports batch conversion and allows you to adjust image quality and compression settings. The app is free with optional in-app purchases for advanced features.
Image Converter: This versatile app supports multiple image formats and offers batch processing capabilities. It provides fine-grained control over output quality, resolution, and file size, making it ideal for users with specific technical requirements.
Photo Converter: A user-friendly app with a simple interface that makes converting HEIC to JPG straightforward. It supports drag-and-drop functionality and preserves metadata during conversion.
Using Third-Party Conversion Apps
Most conversion apps follow a similar workflow: install the app from the App Store, grant it access to your Photos library, select the HEIC photos you want to convert, choose JPG as the output format, adjust any desired settings (quality, resolution, etc.), and initiate the conversion. The converted JPG files are typically saved back to your Photos library or can be shared directly through various platforms.
Method 7: Convert HEIC to JPG on Mac and Sync Back to iPhone
If you have a Mac computer, you can convert HEIC photos to JPG using macOS’s built-in Preview app or Photos app, then sync the converted images back to your iPhone through iCloud Photos or AirDrop.
Using Preview on Mac
- Transfer HEIC photos from iPhone to Mac via AirDrop or iCloud Photos
- Open the HEIC file in Preview app
- Click File in the menu bar
- Select Export
- Choose JPEG from the Format dropdown
- Adjust quality slider if desired
- Click Save
- Transfer the converted JPG back to iPhone
This method is particularly useful when you need to convert a large number of photos, as Mac computers typically offer more processing power and screen real estate for managing bulk conversions. You can also select multiple HEIC files in Finder, right-click, and use Quick Actions to batch convert them all at once.
Understanding When to Use HEIC vs JPG
Choosing between HEIC and JPG formats depends on your specific needs and circumstances. Understanding the strengths and limitations of each format helps you make informed decisions about which to use.
When HEIC is the Better Choice
HEIC format is ideal when you primarily use Apple devices within the Apple ecosystem, need to maximize storage space on your iPhone, want to maintain the highest possible image quality with smaller file sizes, or frequently capture photos and videos and need efficient storage management. HEIC also supports advanced features like transparency, multiple images in one file, and 16-bit color depth.
When JPG is the Better Choice
JPG format is preferable when you regularly share photos with non-Apple users, need universal compatibility across all devices and platforms, use older software or applications that don’t support HEIC, upload photos to websites or social media platforms that may not process HEIC files correctly, or work in professional environments where JPG is the standard format.
Troubleshooting Common HEIC Conversion Issues
While converting HEIC to JPG is generally straightforward, you may occasionally encounter issues. Here are solutions to common problems users face during the conversion process.
Photos Not Converting When Sharing
If your iPhone isn’t automatically converting HEIC photos to JPG when sharing, verify that your Transfer to Mac or PC setting is set to Automatic rather than Keep Originals in Settings > Photos. Additionally, ensure your iOS is updated to the latest version, as older versions may have bugs affecting automatic conversion functionality.
Converted Photos Appear Lower Quality
If your converted JPG photos appear noticeably lower in quality than the original HEIC files, check your compression settings in whichever conversion method you’re using. Most apps and shortcuts allow you to adjust the quality slider – try setting it to maximum quality. Remember that some quality loss is inevitable when converting between formats, but it should be minimal with proper settings.
Conversion Takes Too Long
For users experiencing slow conversion speeds, consider converting fewer photos at once, closing background apps to free up processing resources, ensuring your iPhone has adequate available storage, or restarting your iPhone before attempting large batch conversions. Converting photos is a processor-intensive task, and performance depends on your iPhone model and available resources.
Files App Doesn’t Show Convert Image Option
If the Convert Image option doesn’t appear in the Files app, ensure you’re running iOS 15 or later as this feature was introduced in that version. Update your iPhone if necessary, and make sure the file you’re trying to convert is actually in HEIC format by checking its details in the Files app.
Best Practices for Managing Photo Formats on iPhone
Implementing smart photo management strategies helps you balance the benefits of HEIC’s efficient storage with JPG’s universal compatibility.
Hybrid Approach Strategy
Consider using a hybrid approach where you keep your iPhone camera settings on High Efficiency (HEIC) to maximize storage, but configure your transfer settings to Automatic for seamless sharing. This way, you get the best of both worlds: efficient storage on your device and automatic conversion when needed for compatibility.
Regular Photo Library Maintenance
Periodically review your photo library and convert important photos you plan to share frequently to JPG format, then store them in a dedicated album. This proactive approach saves time when you need to access and share these photos later. Delete duplicate converted images to free up storage space, and back up both HEIC and JPG versions of critically important photos to cloud storage services.
Cloud Storage Considerations
Most major cloud storage services including iCloud, Google Photos, Dropbox, and OneDrive support HEIC files, but their behavior varies. iCloud preserves HEIC format natively, Google Photos converts HEIC to JPG during upload (unless you use original quality setting), and Dropbox supports HEIC but may show previews differently on various devices. Understand how your preferred cloud storage service handles HEIC files to avoid unexpected conversion or compatibility issues.
Impact of HEIC Conversion on Photo Metadata
Photo metadata includes important information embedded in image files, such as date and time taken, location data (GPS coordinates), camera settings, and editing information. Understanding how conversion affects this data is important for photographers and anyone who relies on this information.
When converting HEIC to JPG using iOS’s built-in methods, most metadata is preserved, including EXIF data, GPS coordinates, and date/time stamps. However, some HEIC-specific features like depth information for Portrait mode photos, Live Photo data, and certain advanced color profile information may be lost or altered during conversion. Third-party apps vary in their metadata preservation capabilities, so test your chosen conversion method with a sample photo and verify that important metadata is retained.
Future of HEIC Format and iPhone Photography
The HEIC format represents Apple’s commitment to efficient, high-quality image storage, and its adoption continues to grow across the industry. As more devices and platforms add HEIC support, the need for conversion may gradually decrease. Microsoft Windows 10 and 11 now support HEIC with a free codec from the Microsoft Store, Android devices increasingly support HEIC viewing and capture, and major social media platforms have added HEIC processing capabilities.
However, JPG remains the universal standard for image sharing and will likely continue to be important for cross-platform compatibility for years to come. Understanding both formats and knowing how to convert between them ensures you’re prepared for any situation, whether you’re sharing photos with family, submitting images for professional purposes, or managing your personal photo library.
Conclusion
Converting HEIC photos to JPG on iPhone is a straightforward process with multiple methods available to suit different needs and preferences. Whether you choose to change your camera settings to capture JPG from the start, rely on automatic conversion when sharing, manually convert specific photos using the Files app or Shortcuts, or utilize third-party apps, you now have the knowledge to handle any HEIC conversion situation.
The key is understanding your typical workflow and choosing the method that best balances convenience, storage efficiency, and compatibility requirements. For most users, keeping the High Efficiency camera setting while enabling Automatic transfer provides the optimal combination of storage savings and compatibility. However, if you consistently share photos with non-Apple users or work in environments where JPG is required, switching to Most Compatible mode eliminates conversion steps entirely.
As technology continues to evolve, format compatibility will improve, but having these conversion skills ensures your photos remain accessible and shareable across any platform or device. Take time to experiment with the different methods described in this guide to find the workflow that works best for your specific needs, and you’ll never be hindered by format compatibility issues again.